
It's pretty much all or nothing at this point, and boy, did I make some mistakes through these stages, I guess that's what happens when the pressure is on.
So I put this picture here, but it's actually a carefully crafted timeline lie! One thing I've found I'm desperately terrible at is remembering to apply a release agent to a master that I'm molding, and ending up with a ridiculous mess of struggling and cleaning up afterwards. For the observant, you can already see the pot of mixed silicone sitting there on the table, curing away all by itself, while I rushed to spray on a coat of rubber release.

I bought myself Platinum Silicone from Smooth-On's LA Subsidiary, Reynolds Advanced Materials. I chose Rebound 25 because not only was it brushable, but a good hardness level for glove molds which is what I was aiming for. Point of note, remember that sulphur will inhibit the cure of silicone, which is why I chose the sulphur free plastalina right back at the start. Goes to show you really need to think all the way to the end, preparation is key.
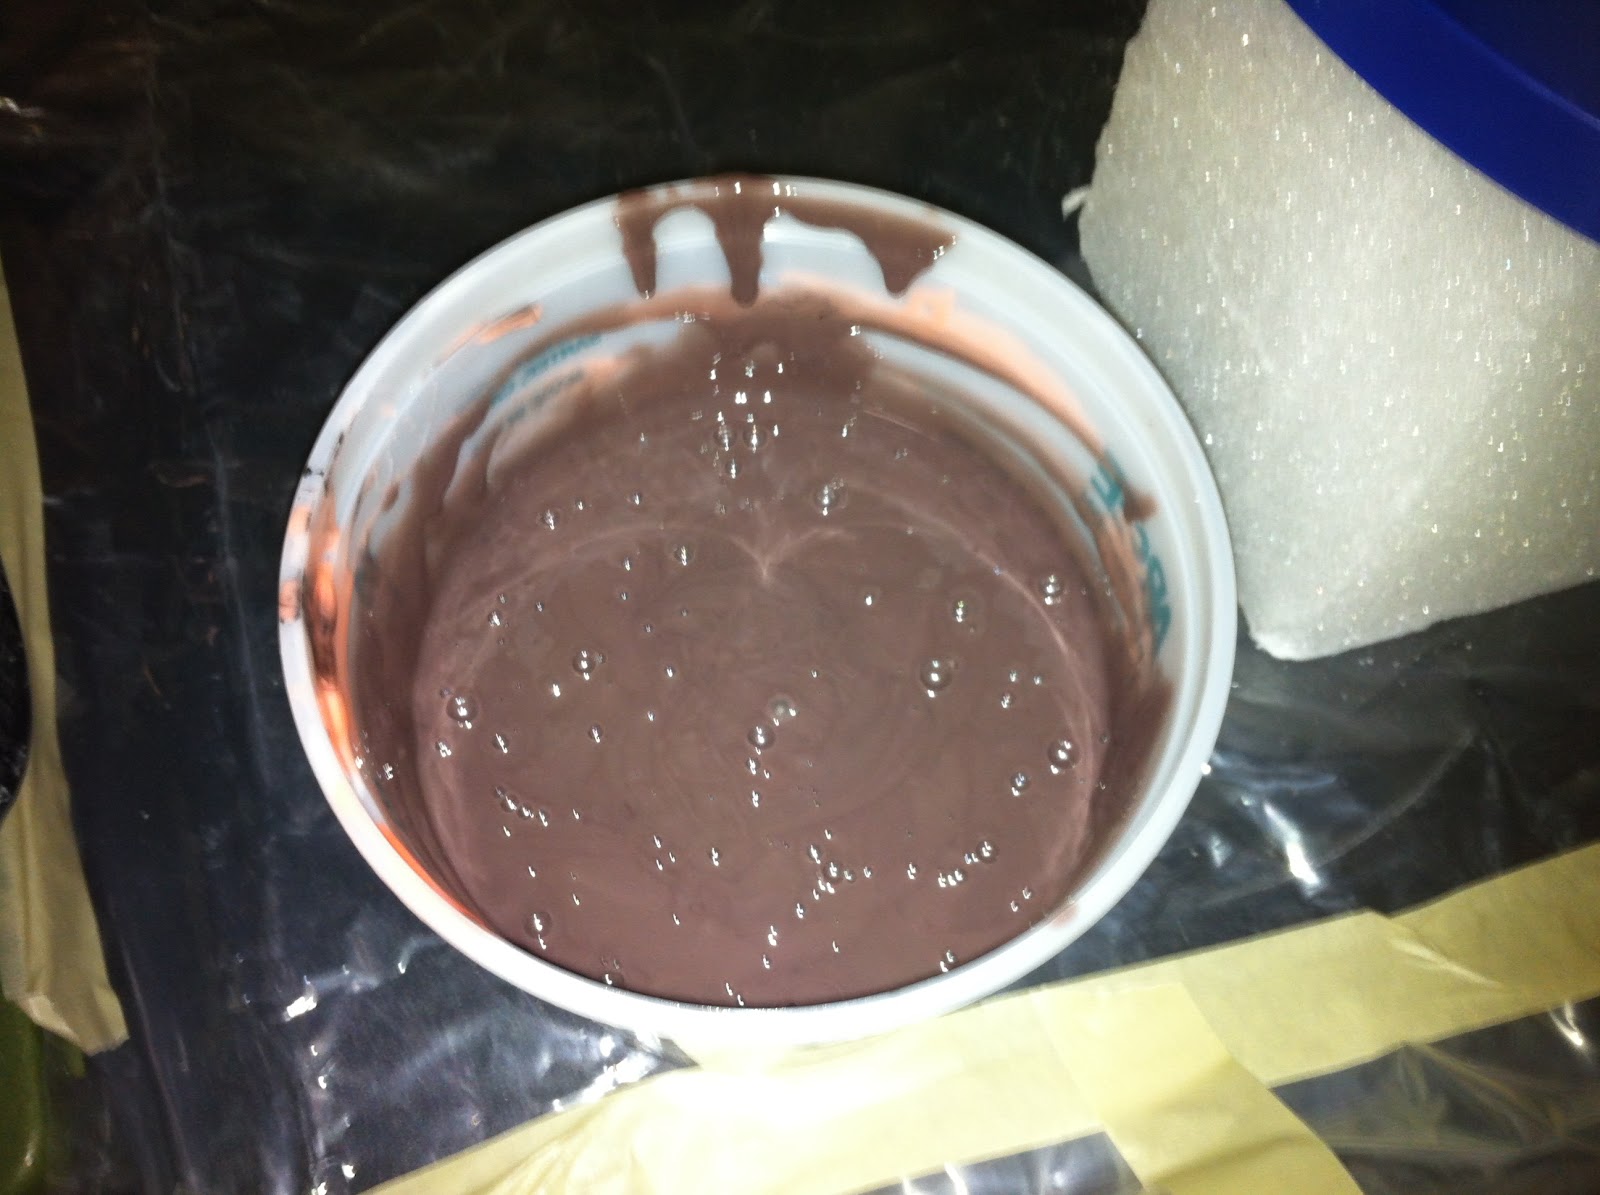
Below is the gallon of silicone (that I was hoping not to use in its entirety), and the first mix. I added a little bit of colourant to the silicone as brushing the orange silicone onto an orange sculpt probably wouldn't have been the best idea, so I chose a dark brown.

And so, disaster strikes! I shall recount the woe, so that you may one day avoid this horrible fate. Due to completely forgetting to apply release, I had already excitedly mixed together the silicone, and it was sitting there in the pot for a while before it even got used. Not only that but I mis-read the instructions that come with the silicone, and grossly mis-judged the working time I had with the silicone.
In short, I thought I would have an hour or more to work brushing the silicone around, but what actually happened was it started solidifying about 10-15 minutes after it was first mixed, which means I was left with only about 2/3 of the sculpt covered by the time it had hardened beyond usable viscosity. What to do?
Well, I grit my teeth and had to accept the loss, I quickly opened the buckets again, poured and remixed, and recoloured, and got to applying the silicone to the last side. Ok, ok, it looks a bit funky, but all in I think I got full coverage without too much pain.


Completely solidified bucket of fail below, pure waste! I guess I can just grind this into silicone bits and use it in future silicone molds I need bulk for. Waste not want not, I guess.

Now that I had a much darker layer, and now after having fully re-read the instructions and understood them, I went ahead with an uncoloured second layer. You can see the natural mix colour here, and the good thing about differentiating the layers his way is you can see where it runs off, and which areas might be too thin.
So basically, you just make sure there's full coverage, and shift it around to make sure there's a decent thickness all over.


After that, it was time to fill in those wicked bone-structure hollows and undercuts. I got myself some silicone thickener, which is a fascinating chemical that, with just a little, makes runny silicone thick to the point it can be troweled on, will hold in vertical surfaces, and will fill gaps nicely.
The thing to be careful about there is that you don't trap air bubbles in your hollows and undercuts, so I took this one in batches, mixed up silicone, added thickener and colouring, and then poked it into the hollows, trying to eliminate all air bubbles, then repeating the process.
The end goal is to make it into a generic 'blob', which will later make the mother mold easier to get on and off. I think I still need to work on that part a bit, or maybe I use a little too much thickener, but it usually comes out a bit rough.
Once done, added a fourth and final layer to give a final smooth surface.


As you can see in the last pic, I started damming up the edges so that I could create the mother mold. I had to decide how many pieces i was going to make it in, and I toyed with the idea of a two piece mold, but after careful inspection, I really didn't want waste a lot of material and end up with the mother mold locked in place. Looking at the contours, I decided to go for a 4 piece mother mold, back, two sides, and top.
I used Smooth-Ons 'Plasti-paste' which is a trowl-able material that hardens to a plastic solidity. Worked great on the back, so I started immediately damming up the side.


Now here's another epic fail, I was adding release agent this time, as the instructions said plasti-paste will really stick to anything, but this time I think I added too much. I brushed on Vaseline (like I used in scenarios using plaster bandages), but as I was working on the side, the whole thing just slewed off as it started to harden, and while I was still working on it. Imagine my face as the whole side just goes 'bloop!' and falls onto the table below.
Another interesting fact about Plasti-Paste is that its a 3-1 ratio fiber to liquid ratio, and even though I bought a gallon of it, doing the back and side along used most of it, not sure if it's cost effective then, over something like plaster bandages, I'll do some calculations later, or pull the trick that Volpin does, which is to use as little as possible.
Anyway, on the wings of that disaster, and with my deadline approaching fast, I decided to stick with what I know, and went ahead finishing the mother mold with triple-folded extra fast set bandages. Thankfully I've had a lot of experience with these from life casting so much recently, so this was a breeze.


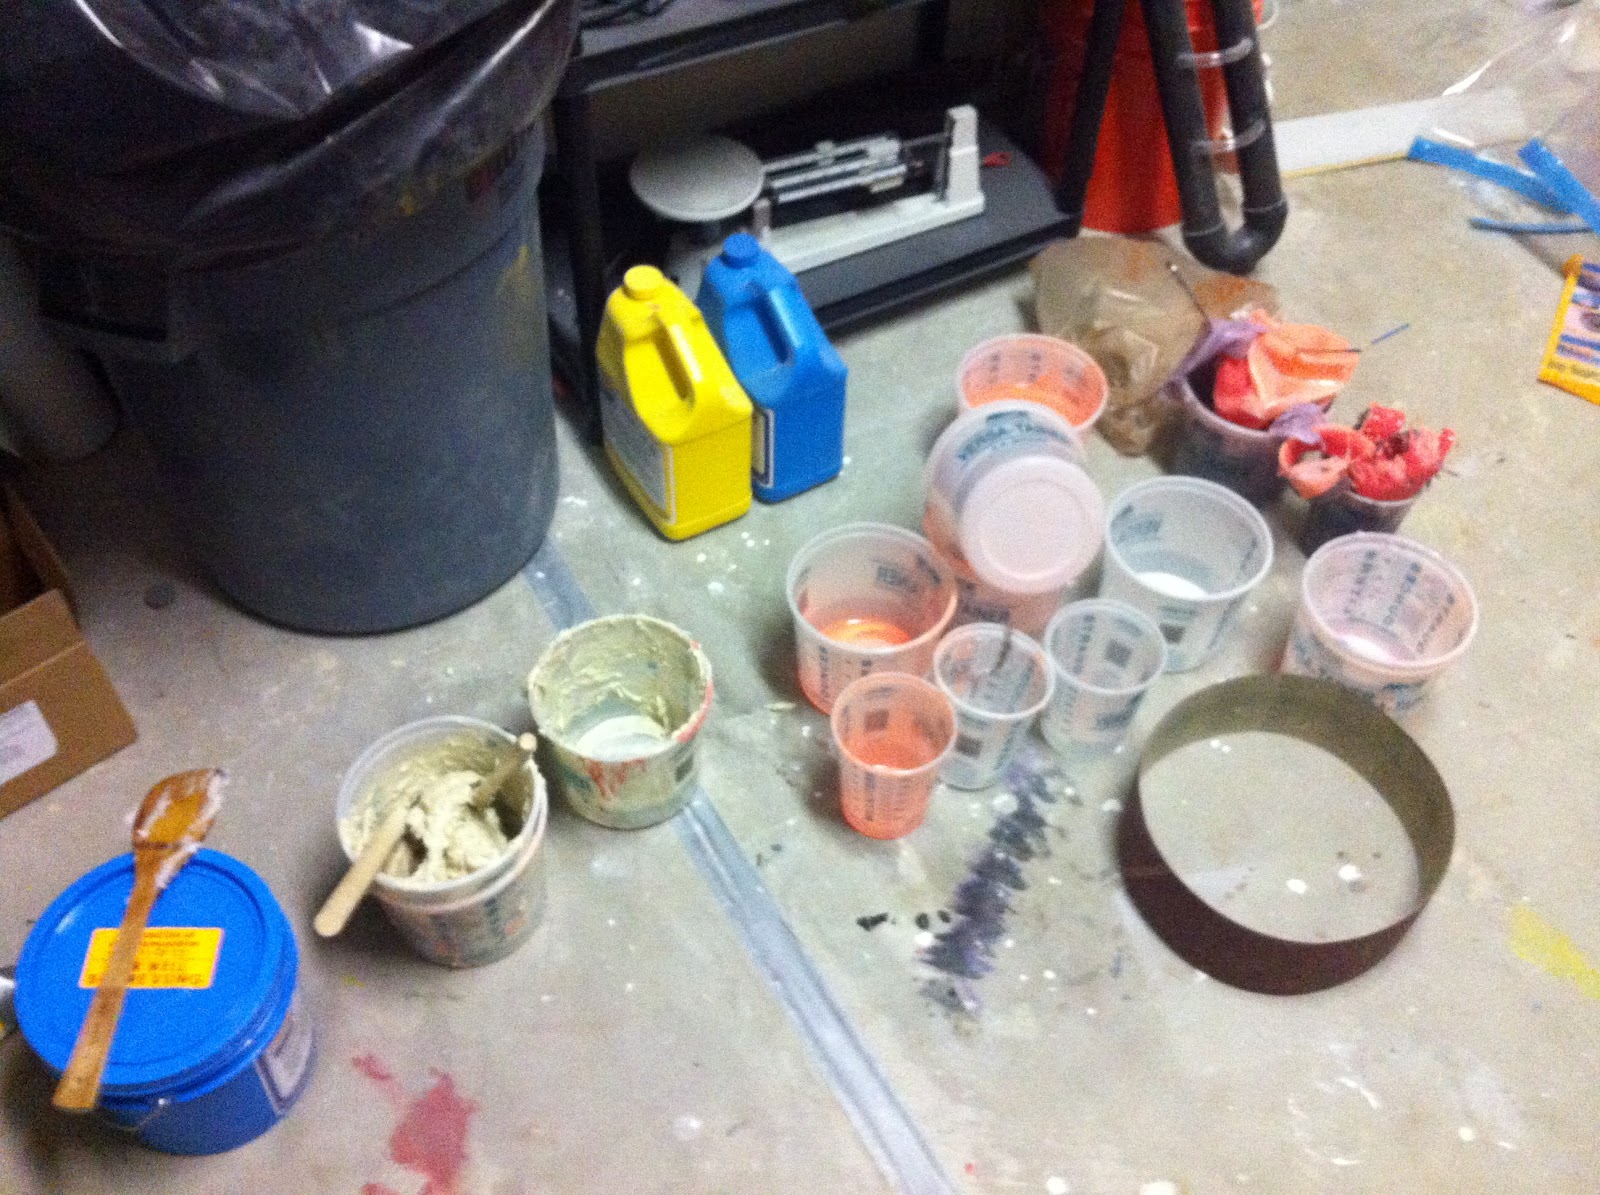
And a final shot of the buckets and mayhem left afterwards...
Now to leave it all over night and make sure everything has cured properly. It's quite nerve wracking having to leave it, hopes pinned. It's make or break!
No comments:
Post a Comment