Showing posts with label Mother Mold. Show all posts

Friday, June 29, 2012

The Sandman's Helm (Pt.11)

1 more day! Let's get to it shall we?

The first thing that had to be done, was to retrieve the gas mask from its clay prison! I was going to be needing it, seeing as the whole thing was based around that being the attachment point to my face.

Oh, the poor sculpt, but that's fine, I have a perfect cast now!


Ermegherd, every time I look at it, it's awesome! So from the raw pull, it was time for some clean-up, I trimmed off all the flashing around the edges of the mask, cut off the lower hose section that wasn't needed, and then carefully trimmed out the eye holes and sanded it all down smooth so as not to have any ragged edges that will catch on anything.


After that, I had to figure out how to 'glue' the mask to the inner surface, and I actually tried a few different things, starting with super glue, and soon realising that wasn't going to work on the smooth inner surface. I then tried scratching up the inside for a bit of traction, and then following it up with a more sturdy epoxy.

Bad idea! Epoxy produces some pretty noxious fumes, and there was no chance I was going to be wearing that near my face all night, so I stripped that off and decided to use the very material the mask was made of.

I don't have pics of that process, I started sacrificing documentation at this point to get things done, so I'll just try to describe it. I basically masked the eyes and edges I didn't want affected, placed the gas-mask carefully in the mask-proper, and then slushed some more urethane resin around inside, this basically fused the masks together to become one useful whole.

It worked out amazingly, though I had the mask sitting too low, so more of the chin was visible than I intended, but the eye line was better than I expected!


Here's a little video of it moving around.


Next up was how to get in and out of the mask easily, and possibly when drunk. :P

It was molded to my head in such a fitted manner that I definitely wouldn't just be able to slip on and off, and I also have a pretty massive head as far as helmets go in general, so I decided that the back section could be flipped up like a 'flap' and you put your head in through the gap, and secure the back panel again.

Again, time was running out fast, and I was really worried that cutting the mask apart at this point would result in further failure, but I bolstered that attitude with the knowledge I could just pull another awesome version of the mask in about a 30 minute time frame.


Once that was done, I set about dealing with one of the most important parts, that has so far gone pretty much neglected. The spine!

I would have liked the whole thing to be flexible by the time I was done, but it was being really hard to work with, so long as it had the metal rods in it. I scrapped the rods in the end, replacing the central column with a wooden dowel, reducing the overall length of the spine by about half, and then drilling out a left and right hole on either side of the dowel.

I then took two screws of about two inch length and placed them in the holes for now.


Quickly after that, I dammed up the nose section of the mask, and filled it with resin, just enough to support the weight of the spine. The colour on the pics above are inks that I used to transfer the positions of the holes to the mask, and drill out more sections there.

I moved back to the rear head head plate, where my idea was to attach the back with powerful magnets. I positioned them appropriately, built some dams around them, and 'glued' them into place using more resin, again, I couldn't afford to have any toxic glue fumes as I'd be wearing this in the next day or two for a whole night!


It's a complete mess in there, like a bomb went off, but a little bit of cleaning should sort that out.

As I was drilling down bits, I accidentally hit some of the magnets, but look at beautiful magnet fragments being positioned by their fields.


Interesting failure point here that the magnets were close, but not close enough to the edge to hold the back plate in place while I was walking, but fine when standing. I realised that while the magnets I used were really strong, they couldn't defeat their own weight pulling the mask back down when I took a step, so it fell off onto the floor, cracking it (and some hasty repairs had to be made!).

I hastily removed the magnets from the top and replaced them with two loops of Velcro strapping to keep them in place, and make sure that if it fell, it would still be attached to the helm. It worked amazingly! With the reduction in weight, the too better positioned, lower magnets, held really well, and when I did jar a motion a little too hard, the back would only fall about an inch before the Velcro straps caught them. I'd then just reposition, which the magnets helped with, and I was back on form.

And this is the point I lose it, no more documentation, none on the painting process, just straight to the end now.

Wednesday, June 27, 2012

The Sandman's Helm (Pt.10)

Great success!

After a bit of prying, I took off the mother mold, and pulled the glove mold up and over the sculpt, which held up reasonably well and almost completely intact. I thought I was going to decimate it!

Look at that beauty, and not only that, when its inside out, it kinda looks like a Creature from the Black Lagoon mask, double-bonus! Look at me, so delighted to be a creature.


Next up, a double first time attempt for me, and that's 'slush casting' with a urethane plastic. This basically involves a two part liquid formula that hardens to a plastic consistency, you pour it into the mold, roll it around so that it covers every surface, and in about 10 minutes it sets to hard plastic. Amazing stuff!

I used Smooth-On's Smooth Cast 320, which comes out handily off-white.

But, before you think its all Daisy's and Snowflakes, I failed pretty hard. Once again, I didn't quite understand how the material worked, and in my excitement, I used too much, poured a big wad of it in there and started rolling it about like the dickens.

How the resin works is interesting. The larger the mass in a specific area, the faster the catalysing reaction will occur, so if you happen to have a big splodge or puddle of it anywhere, you can bet that's gonna kick faster than the thin coating everywhere else.

Well, that's what happened to me, I got the interior surface covered up to a point, and then as it was puddling in the bottom, it just immediately went solid. That stuff kicks fast! I was surprised and pretty bummed out, but I needed to pull it out anyway, check it out, it might have been a failure, but it gave me a preview of its potential!


I used a lot less resin this time, and did it three times, immediately building up on top of the last layer just as it had set. This resulted in a super hard, perfectly cast mask which I did a little victory dance to!

Here it is, in all its glory!


Here's a comparison shot, you can see how thin the first one was in places, it just started deteriorating as I handled it, the other is just awesome. So awesome, it was awesome before awesome even became a word.


At this point, I would have liked to spend some time with sandpaper knocking out some of the sculpt marks, and buffing some of the larger areas out to a smoother texture, but I didn't have time to spare, so it would have to wait till the next pull after the masquerade.

Tuesday, June 26, 2012

The Sandman's Helm (Pt.9)

4 days left!

It's pretty much all or nothing at this point, and boy, did I make some mistakes through these stages, I guess that's what happens when the pressure is on.

So I put this picture here, but it's actually a carefully crafted timeline lie! One thing I've found I'm desperately terrible at is remembering to apply a release agent to a master that I'm molding, and ending up with a ridiculous mess of struggling and cleaning up afterwards. For the observant, you can already see the pot of mixed silicone sitting there on the table, curing away all by itself, while I rushed to spray on a coat of rubber release.


I bought myself Platinum Silicone from Smooth-On's LA Subsidiary, Reynolds Advanced Materials. I chose Rebound 25 because not only was it brushable, but a good hardness level for glove molds which is what I was aiming for. Point of note, remember that sulphur will inhibit the cure of silicone, which is why I chose the sulphur free plastalina right back at the start. Goes to show you really need to think all the way to the end, preparation is key.

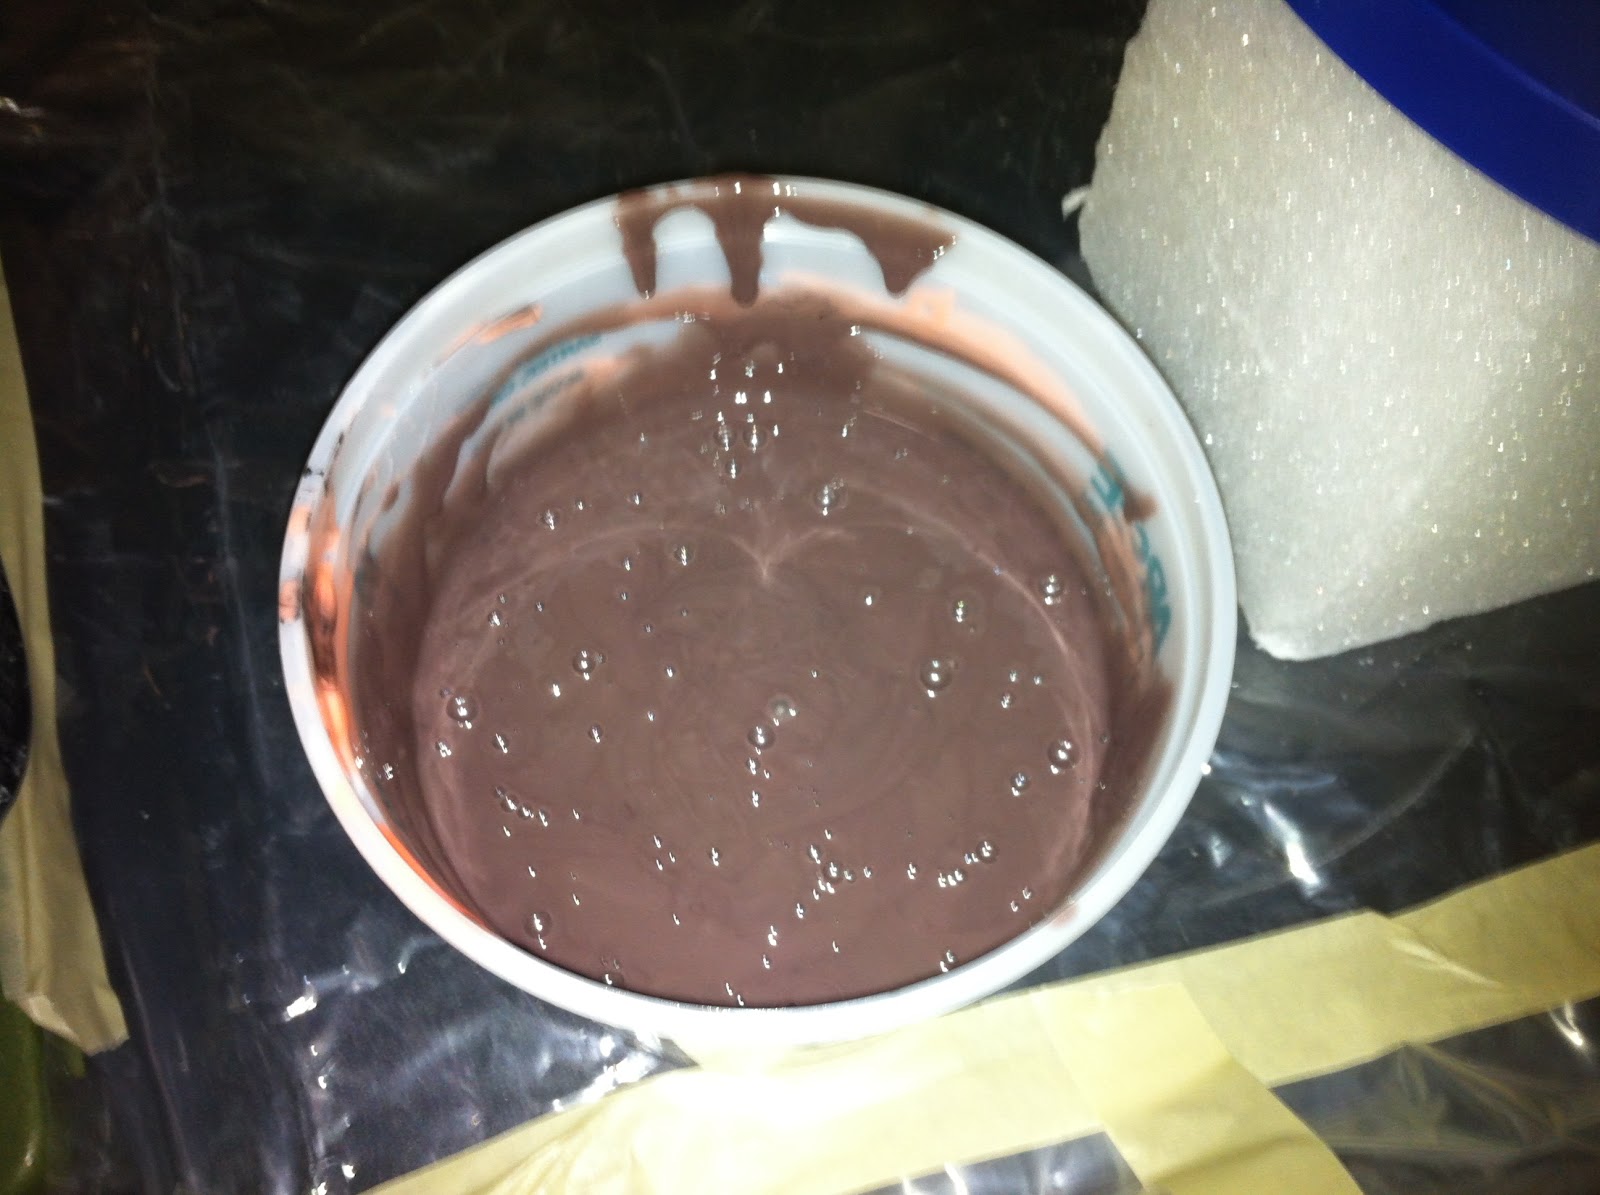
Below is the gallon of silicone (that I was hoping not to use in its entirety), and the first mix. I added a little bit of colourant to the silicone as brushing the orange silicone onto an orange sculpt probably wouldn't have been the best idea, so I chose a dark brown.


And so, disaster strikes! I shall recount the woe, so that you may one day avoid this horrible fate. Due to completely forgetting to apply release, I had already excitedly mixed together the silicone, and it was sitting there in the pot for a while before it even got used. Not only that but I mis-read the instructions that come with the silicone, and grossly mis-judged the working time I had with the silicone.

In short, I thought I would have an hour or more to work brushing the silicone around, but what actually happened was it started solidifying about 10-15 minutes after it was first mixed, which means I was left with only about 2/3 of the sculpt covered by the time it had hardened beyond usable viscosity. What to do?

Well, I grit my teeth and had to accept the loss, I quickly opened the buckets again, poured and remixed, and recoloured, and got to applying the silicone to the last side. Ok, ok, it looks a bit funky, but all in I think I got full coverage without too much pain.


Completely solidified bucket of fail below, pure waste! I guess I can just grind this into silicone bits and use it in future silicone molds I need bulk for. Waste not want not, I guess.


Now that I had a much darker layer, and now after having fully re-read the instructions and understood them, I went ahead with an uncoloured second layer. You can see the natural mix colour here, and the good thing about differentiating the layers his way is you can see where it runs off, and which areas might be too thin.

So basically, you just make sure there's full coverage, and shift it around to make sure there's a decent thickness all over.


After that, it was time to fill in those wicked bone-structure hollows and undercuts. I got myself some silicone thickener, which is a fascinating chemical that, with just a little, makes runny silicone thick to the point it can be troweled on, will hold in vertical surfaces, and will fill gaps nicely.

The thing to be careful about there is that you don't trap air bubbles in your hollows and undercuts, so I took this one in batches, mixed up silicone, added thickener and colouring, and then poked it into the hollows, trying to eliminate all air bubbles, then repeating the process.

The end goal is to make it into a generic 'blob', which will later make the mother mold easier to get on and off. I think I still need to work on that part a bit, or maybe I use a little too much thickener, but it usually comes out a bit rough.

Once done, added a fourth and final layer to give a final smooth surface.


As you can see in the last pic, I started damming up the edges so that I could create the mother mold. I had to decide how many pieces i was going to make it in, and I toyed with the idea of a two piece mold, but after careful inspection, I really didn't want waste a lot of material and end up with the mother mold locked in place. Looking at the contours, I decided to go for a 4 piece mother mold, back, two sides, and top.

I used Smooth-Ons 'Plasti-paste' which is a trowl-able material that hardens to a plastic solidity. Worked great on the back, so I started immediately damming up the side.


Now here's another epic fail, I was adding release agent this time, as the instructions said plasti-paste will really stick to anything, but this time I think I added too much. I brushed on Vaseline (like I used in scenarios using plaster bandages), but as I was working on the side, the whole thing just slewed off as it started to harden, and while I was still working on it. Imagine my face as the whole side just goes 'bloop!' and falls onto the table below.

Another interesting fact about Plasti-Paste is that its a 3-1 ratio fiber to liquid ratio, and even though I bought a gallon of it, doing the back and side along used most of it, not sure if it's cost effective then, over something like plaster bandages, I'll do some calculations later, or pull the trick that Volpin does, which is to use as little as possible.

Anyway, on the wings of that disaster, and with my deadline approaching fast, I decided to stick with what I know, and went ahead finishing the mother mold with triple-folded extra fast set bandages. Thankfully I've had a lot of experience with these from life casting so much recently, so this was a breeze.


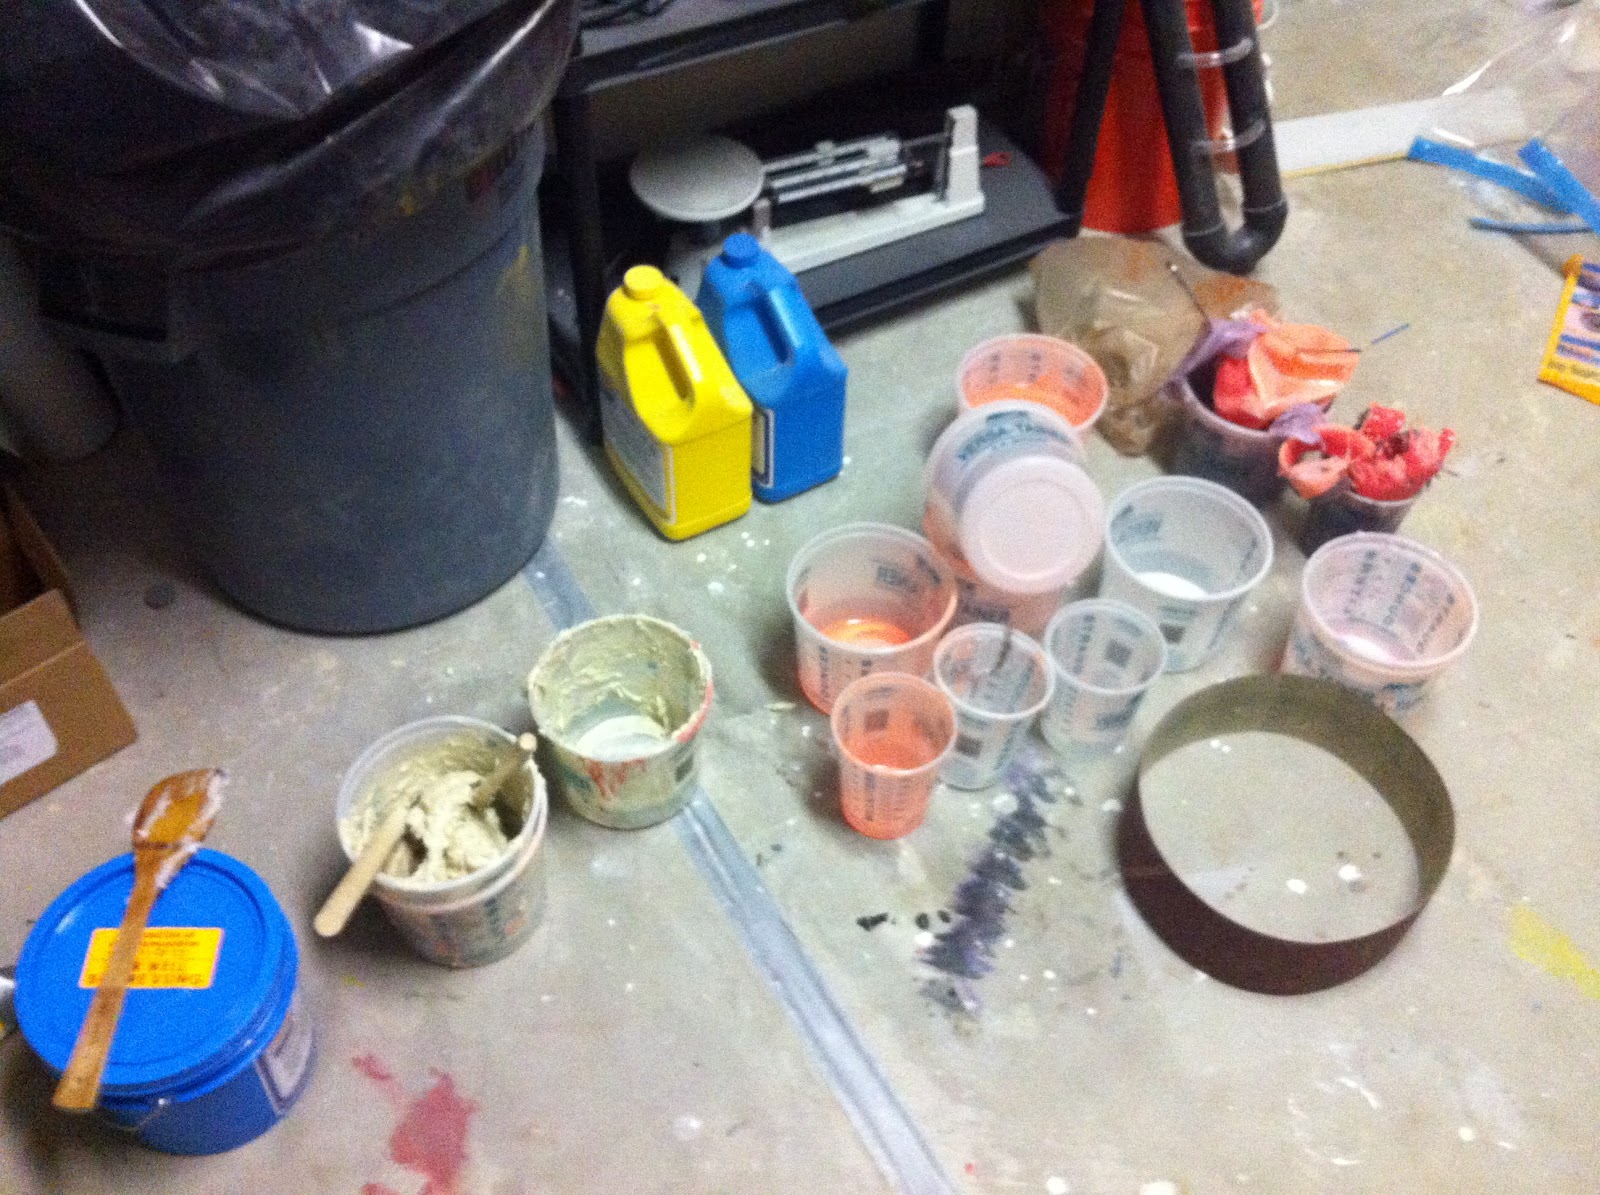
And a final shot of the buckets and mayhem left afterwards...


Now to leave it all over night and make sure everything has cured properly. It's quite nerve wracking having to leave it, hopes pinned. It's make or break!

Monday, April 30, 2012

The Sandman's Ruby (Dreamstone Pt.2)

OK, so I've never tried to reproduce 'sturdy glass' before, and even fake gemstones are something I've considered to be too heavy in large sizes for anyone to wear all night, unless you are Mr. T of course.

I had some clear resin from Alumilite lying around, and in a moment of craziness decided to see if I could rapid prototype a Dreamstone from a basic mold and cast process of the simplest variety.

Starting with the foam board I glued together from the last post, I manually cut down the edges with an Xacto blade to the best of my steady-hand ability (beer may have been required to steady that hand), and then used some clay to fill and roughly smooth down the edges.


Once done, I then whipped up a quick box, applied some Vaseline to the surface of the prototype gem shape as a release agent (it was lying nearby from a previous life cast I had done), and poured myself a concrete mold.


Not bad, not bad at all, but I could already see some potentially hazardous and troublesome undercuts, nonetheless I pressed on. I mixed up my clear resin, put a thin red wash of 'paint' in there, and 'Slush cast' the resin around the inside.

It was only a minute or two into this process that I realised I hadn't released the mold, which meant I'd probably be having a nightmare trying to get the resin cast out of this. It's OK, it's not like the release agent was nearby or anything, like a whopping mile or something... oh wait...


Well, that's what excitement and enthusiasm gets you, hasty mistakes! Either way I wasn't too bothered I was going fast anyway, just checking viability.

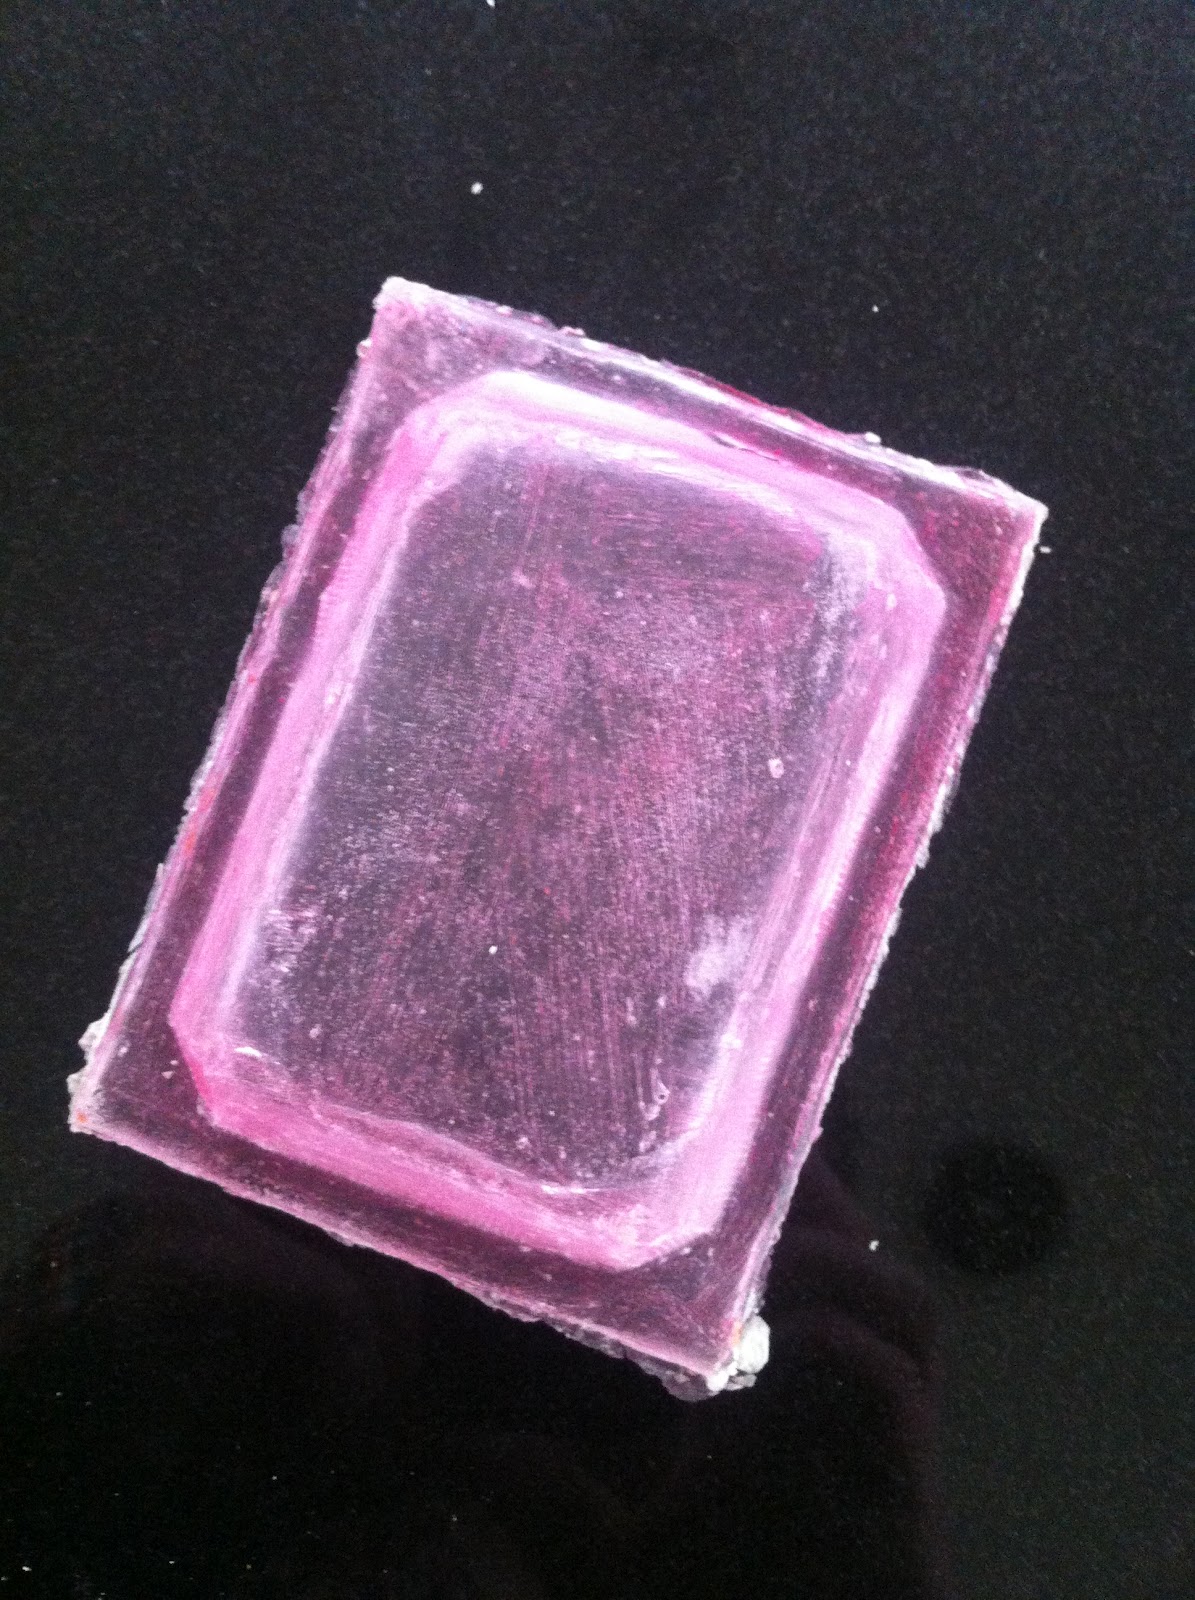
I was right, getting the resin cast out of there was a nightmare, and a feat of strength, but after a bit of warping it came out and i was able to roughly put it back into the right shape. Several things were apparent:
  1. A vacuum former would be awesome.
  2. The Vaseline layer that released the foam from the concrete was clearly too thick/course, and this transferred all the way to the final cast, the pattern was evident on the resin.
  3. In that regard, if casting in resin, I'd have to do a lot of work buffing the positive I was going to cast into almost perfect shape, or find some way of polishing the final cast down smooth.
  4. The colour transferred well, will have to go bolder, and look into resin dyes.


Good test, next time, I'll probably use wood, sanded down to good angles, followed by perhaps a filler layer smoothed down very fine, and topped with resin to give it a polished surface before casting. I'll use a spray release to prevent any unusual transfer, and slush cast as I did before.

Sunday, February 5, 2012

Gel 10 Skull

The tools of the trade! The skull, Gel 10 and pigments read to roll, and chip brushes that i'll never be able to use again!


First Gel 10 layer, details, though there aren't too many details on this skull. Within about 10 seconds I learned I should have paid more attention to the undercuts AND glued the skull down. ;)


Layer 2, blue pigment, just building up the thickness now, bye bye swizzle sticks (and probably cups)!


Close up of layer two as it 'kicks' (rubberizes).


Layer three, added some thickener so that I could start dragging the gel into the deep recesses, so we don't have a problem with the plaster shell later.


6 cups down, and waiting till its almost solidifed! Gotta be careful not to touch the surfaces or else they'll delaminate.


Final layer, attempting to finish off those deep recesses, so we dont have undercuts for the mother mold to latch onto.


Close up, I had a hard time with this layer, I accidentally added a bit too much thickener, and it started to kick before I was fully smoothed out, but that's what experiments are for, to get used to the materials!


I probably should have done this in my garage, but I wanted to watch a movie and sit down comfortably, I was under the weather, after all!


First half of the mother mold, at this point I was skeptical about whether or not I was going to be able to release it... we'll see.


The mayhem in progress.


Second half done...


... and now we wait!


BAM! It worked, mother mold came off just fine. :)


And there she is, all ready for casting!


Plaster test first, I think, because of the inexpensive nature of the material. I think ill move to foam if this works out because in hindsight a skull of this density is f'ing heavy!


It's like someone killed a Weyland Yutani android in here, and gave up half way through cleaning...


Ta-Da! Skull copied, a couple of fine air bubbles, but nothing some Bondo and some sandpaper won't fix.


Dramatic side view!


Meanwhile, at the side of the table... some cheap-ass 'Lazy Susans' in progress. And by that, I mean stands that probably won't work.


Now for the transformation, took a saw to the nub at the top, and sanded it down a bit, cut the large rectangular block off the bottom so it sits more naturally, then started carving out the details, starting with the teeth. :)


Progress so far, teeth done, jaw defined, nose and eye sockets need more work, but I'd call this a success, ready for re-cast and re-production!