
I fiddled around with it a bit, but I already knew the writing was on the wall, I just didn't like it's current incarnation. Here is where I ended up.

So I originally got the idea of copying the tail-bone of the medical spine I had, and then it occurred to me, instead of 'copying it', why don't I ACTUALLY copy it, making a mold and a cast, that way I could get two exactly identical bones sections for either side.
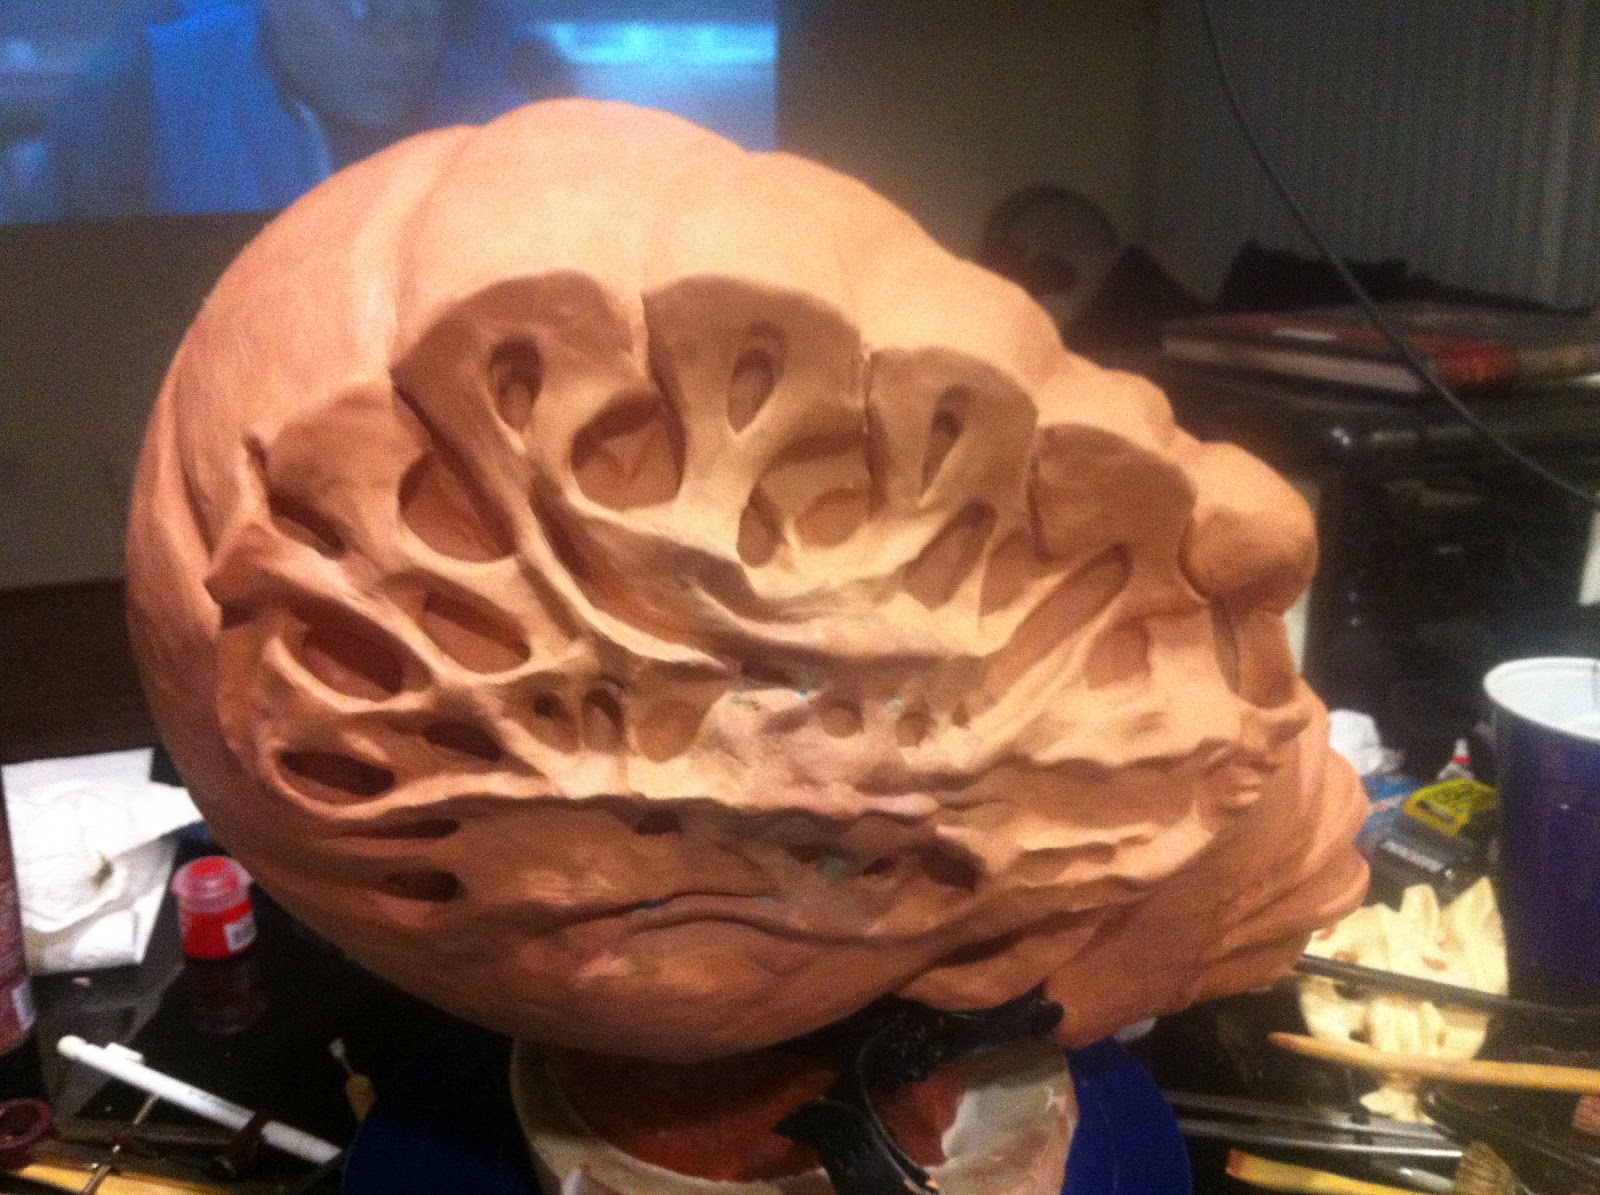
I spent a while preparing the spine that you can see here (below) by eliminating the undercuts that would cause the mold to be stuck to the original, but thanks to the wonderful flexible properties of silicone, I didn't need to go too far, and I could keep some deep depressions for further detail.

The mold, pretty dirty, but I was trying to save money and therefore silicone. Turned out great though!

I then pulled two copies using some clear urethane resin I had lying around. I also recently bought some aluminium powder for future metal-looking castings, hence why they turned out grey.

And now for the interesting part! I cut out the work I was unhappy with, right down to the head cast. I then placed the tailbone against the head with some clay underneath to support its weight and keep it in place, after that, it was a matter of taking the lines of the tail-bone and making them 'flow' into the other sculpted detail.
I think you'll agree this is vastly better!

Spent some time cleaning up the ridges, the Y shapes and making sure the tail bone blended seamlessly with the rest of the head. I also decided to remove the detail from the lower helm closest to the neck, I would probably need it o be stronger down there, so detail might not be a good idea.
Looks great!

I went straight to work on the other side, measuring and copying the whole time. This time, with the tail-bone being an exact copy, I just needed to place it carefully, and the rest was a piece of cake. I busted out the other side.

Cleaned up the remaining pieces of the left side, and done my last adjustments to make sure both sides are as symmetrical as possible (without actually being symmetrical, that would just be weird from an anatomy standpoint!)
And here we have it, finished, both sides, and front. All smoothed out and pretty. Sadly it was one HEAVY sonuvagun, carting it about must have given me the best workout I've had in a while!


As soon as I can, onto molding and casting this beast!
And for your viewing pleasure, a video so you get a better idea of how it looks in real life. (Is this real life!?)
No comments:
Post a Comment