Rather than follow my own previous advice by using wood, I, for some unknown reason, decided to try again with foam core board. The difference this time was that I had recently purchased a belt sander, and I was thinking that I could maybe use the same technique, but with the sander, would be able to precision sand down to the lines I wanted.
Seriously, if you do this yourself, just use wood, I'm a glutton for punishment and trials.
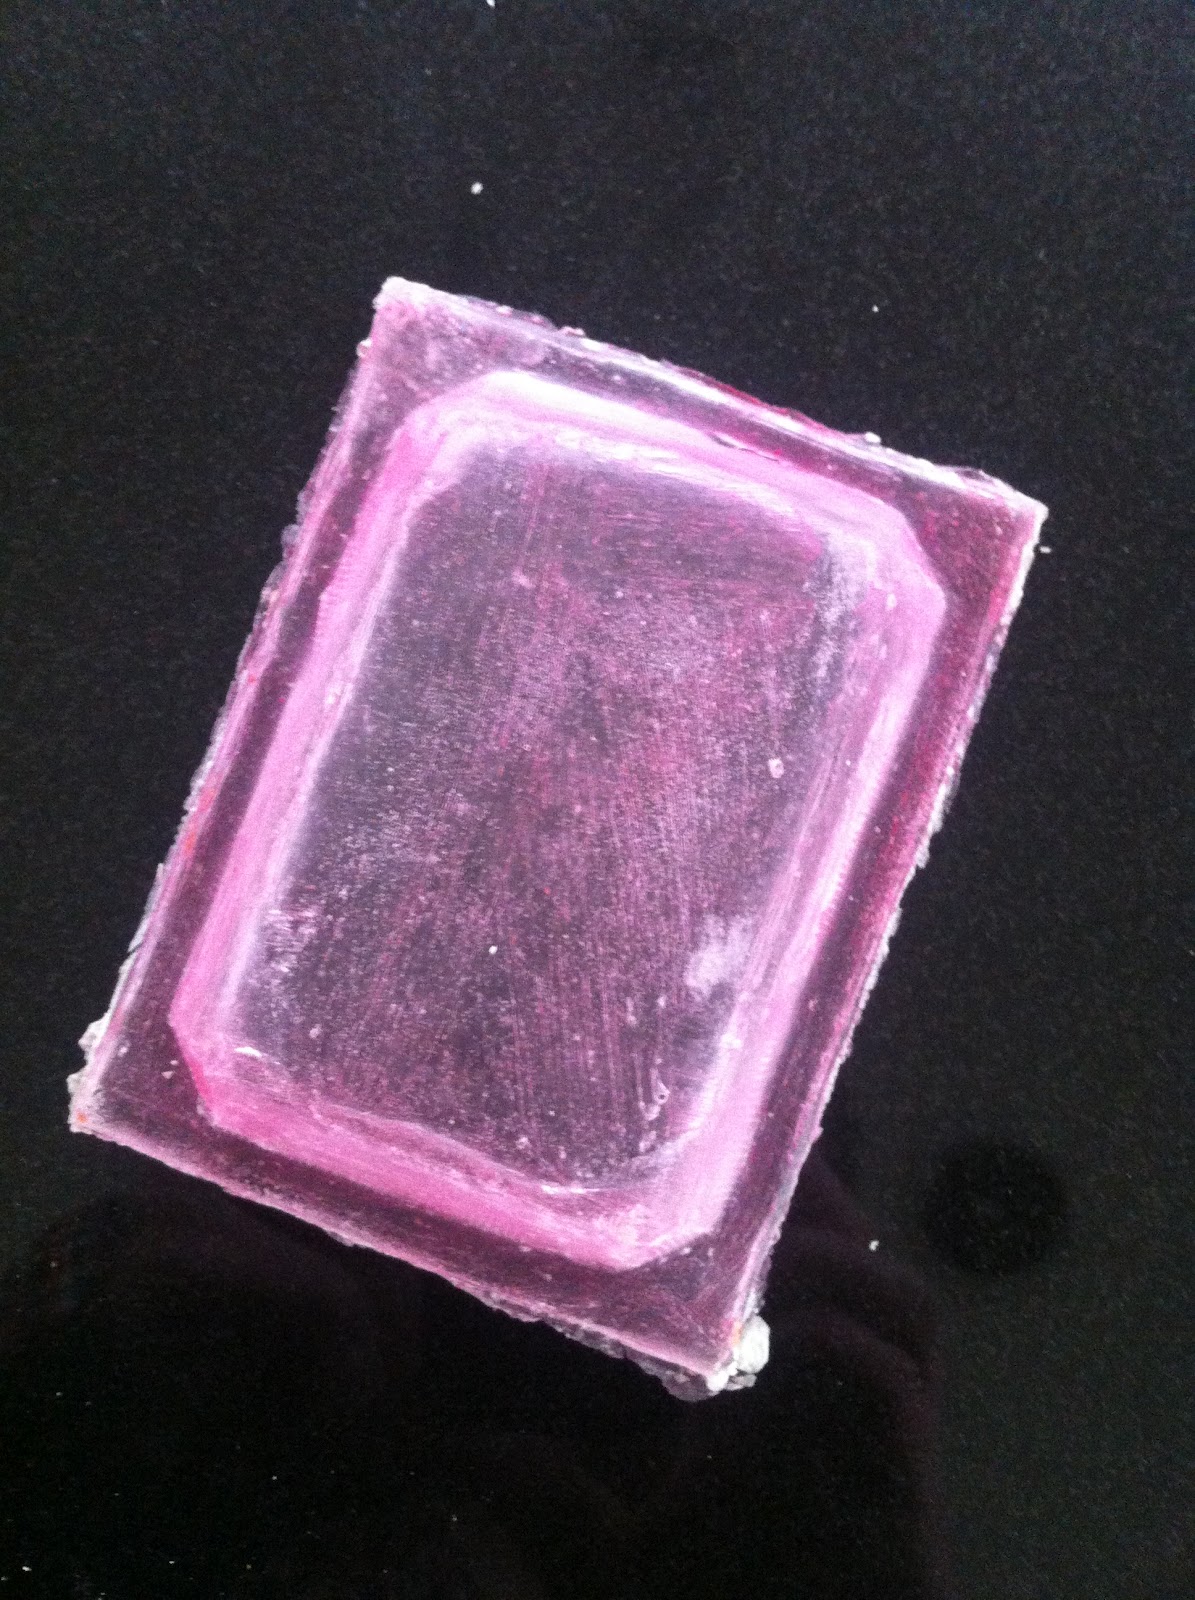
Here is another round of pics.


As you can see, the upper surface is smooth, a vast improvement on the last attempt, however, thinking ahead, I thought this might not be the best-case scenario, as I wanted to put lights in there, and have the diffusely blink. A clear outer surface would probably leave the full glare exposed, so I basically just peeled off the top layer, leaving the foam exposed underneath (the rough texture would therefore translate into a diffused glass pattern, or so I hoped, seemed to make sense in my head).
I then went about molding the stone, and as usual, I like to experiment, so I used a little of a trial pack of Smooth-On's Oomoo silicone rubber, which has the excellent properties of not needing to be vacuum degassed (remove the air bubbles that might cause you problems later). I don't have a vacuum chamber, so this seemed like a good time to test this out on a rough surface.
I then went ahead, after it has set, to pouring some Alumilite Clear resin in there and slushing it around till it set. The hard part here was getting it to that the edges were thick enough to support the rest of the shell. I didn't quite get this right, and it would be the same with the helm later, I need to sculpt in a dam or indent so that the negative will be able to accommodate more resin at the very edges.
Here is the mold after a couple of resin pours.

While that was fully curing, I finally took my own advice, and started with wood to construct the frame of the Dreamstone. I took some hobby wood, cut the size out, and then sanded down the interior bevel with a Dremel sanding bit.
I then took some progressively higher and higher grit sanding paper to it until the edges were perfectly smooth. I went and drilled two decent sized holes in the back surface, more on the reason for this next.


So completely by chance, while I was shopping for pieces of Soo's Delirium costume, I came across some very cheap and cheesy 'diamond rings', which were actually just hunks of plastic on a plastic ring mount, with blinking L.E.D.s in them. I guess some ladies like the bling bling to literally bling.
I grabbed a couple of these, took them back and cut the L.E.D. circuits from the housing, leaving me two small boards with three L.E.D.s on them. These already had three sets of blinking patterns built into them, so I was delighted I could just dump learning simple electronics for post project, and use these in the interim (weight off my shoulders knowing I might be able to achieve the Dreamstone effect I wanted without any effort!

To give the 'cloudy' effect, I already knew from years of art as a kid that if you wanted clouds, you used cotton wool, so another quick test later verified that I was right (past-me was smiling), here's how it turned out.

I decided to put the whole assembly together as a preview, two L.E.D.s, wood frame and clear Dreamstone. Here is a video of how excellent it came out.
I pulled the Dreamstone casing from its mold, and started with progressive layers of a red ink wash until I achieved the desired richness. Also, despite the foam core being ridged (take a look at the sides, you can see in the cast that the 'edges' where the individual boards were glued came out, like I say, use one piece of wood and every surface will be super smooth, don't make my mistake!).
Still, I like the sharpness of the edges, and it would definitely do.

While the ink was drying, I took some Rustoleum gold primer to the Dreamstone mount, which handily sat on the steel floor post I got with the medical spine!

Once I was happy with the red colour of the Dreamstone, I started wondering if I could make it more 'glassy' and shiny, without actually losing the diffuse element (despite the fact that the cotton wool was going to be doing most of the work). At his point, if I had used wood, I probably wouldn't have the problem, and the cotton wool and paint job would have done the work, but this is a fine example of knowing when to stop.
I didn't know when to stop, so I pressed ahead with adding another layer of Crystal Clear resin on top, thinking it would smooth things out.

Called it a night here, and went to bed, hopeful for the next day!