So after many other side projects, and numerous false starts, I decided it's time to get cracking. Firstly, I bought a new plotter, and tried to get my head around
Adobe Illustrator, in the eventual hope I could make great 1-1 schematics and blueprints for awesome helms and other props. After much messing around, failing, and general skulduggery on my part, I realised I was going about this project all wrong.
The lessons I had looked at, the tutorials from other great prop makers like
Volpin Props, and the books I read were basically all telling me how to get started on a helm you build from the ground up, solid. I had a problem with that, which I didn't quite realise, and that's due to the elongated nature of the helm, I needed something that would allow it to sit comfortably and be attached mostly to my face, extending back from there ('free space' at the back). My original idea of putting a gas mask on a rough head cast of mine seemed to be incompatible with scaling and measuring out the helm, and trying to make the negative space in foam or wood to attach and then work on.
Frustrated, I let it be for a while, then watching an amazing tutorial on sculpting by the
Stan Winston School of Character Arts (I'd thoroughly recommend a year subscription, their videos are amazing, and the site is getting new tutorials by the masters all the time) I realised what I had to do. In that video, he uses Wed Clay on top of a head cast, which, as I intended, takes away the need for a lot of filler material to make up the final product. Wed clay is cheap, but apparently not really intended for multiple uses. I decided to go to my nearest
well stocked art store and get materials to try my hand at sculpting.
After a bit of advice from an
employee of the store, I bought five blocks of
4.5lb Van Aken Plastalina clay, trundled home and got cracking.
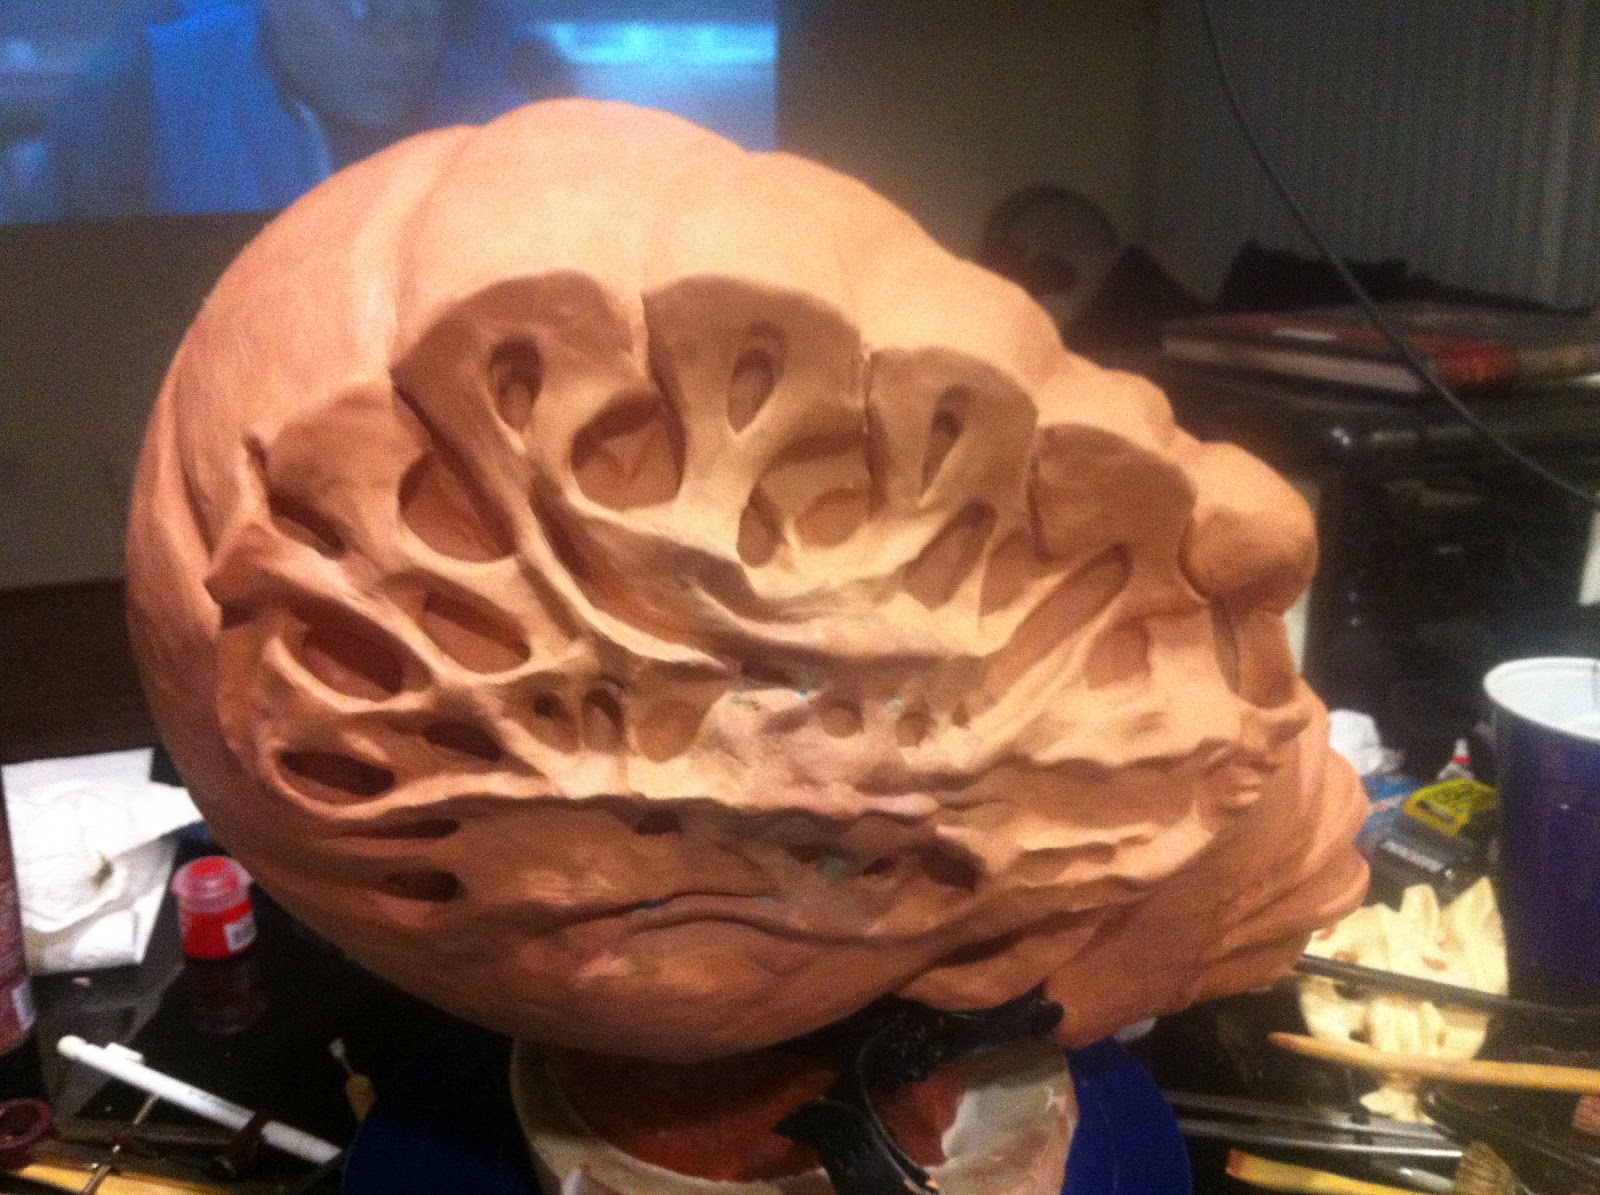
Starting with the gas mask I cut earlier, I removed the extraneous elements, like the water pipe fitting on the 'cheek' and cut it down trim with the mask for symmetry. I tried to trim things neater, and then proceeded to fill the mask's interior with clay. If I wanted to have a cast that would 'sit on top of' the modified gas mask (with the intention of the gas mask being attached to my head as the pivot for the whole helm, securing it) then I'd need to build it around that, and that meant keeping it rigid while I worked on its surface.
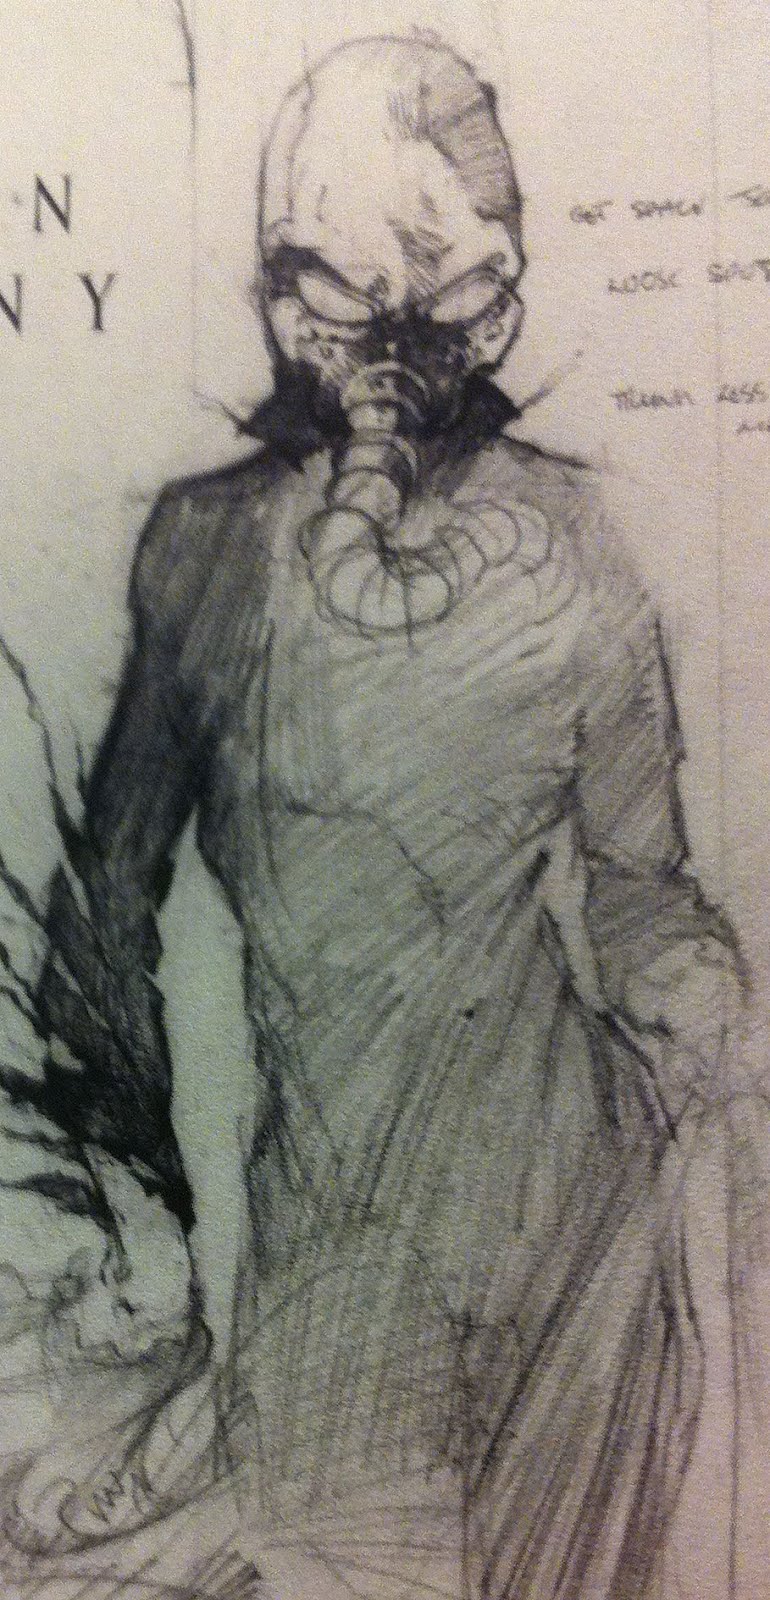
As you can see, I had to also add a bevel of clay around the mask exterior as well, to eliminate the dip from mask to forehead. Once that relatively simple operation was complete, it was onto the hard part, fleshing out the detail! Using the pictures from
the previous post, I wasn't aiming for perfection, just building it up as quickly as possible. I started smoothing a thin layer over the mask in general to get rid of the 'black sections', and then went onto mask details, like raised eyebrows and cheekbones. After that, I started using a lot of the clay to build up the rear of the head, there's almost 6-7lbs back there, but it gives he right extension I need.
At this point I also had to consider the 'gas pipe' a.k.a. the 'Spine'. Hollowing out the front of the gas mask was a good idea, but I would eventually need some way to attach the spine to the mask, without it being crushed against my face. This is why the gas mask was a good idea in the first place, as it is already designed to have space between the mouth and front sections. I therefore used that space by filling around the edges, and 'flattening' the upper surface. I trimmed the top to spinal bones down to the solid vertebrae alone, and removed all the sinew parts belonging to the reproduction.

Once that was done, I could see that my guesses were correct, and it would fit snugly into the gap, while also having a solid screw ill be able to use to attach it to the final mold. I took note to make sure the upper nose section of the mask is solid and supports the weight. I may also have to trim the back half of the spinal vertebrae down if in the end it still ends up too close to my face. Here's a picture of it in place.
I'll have to add some clay to 'blend' the mask into the spine, but for casting, I'm going to work on it with the hollow open, and attach them together post process.
All in all, this was about 2 to 3 hours work. Looking forward to the next part, which is getting the detail in, and working on it's look and feel.